
From Power Button to Desktop : Deep Dive
May 15, 2025
Hey everyone! Think about it – you press a tiny button, and in what feels like a blink, your entire operating system loads up, ready for you to work, play, or create. It seems like magic, right? Especially when you’re greeted with your familiar Linux desktop. But trust me, there’s no sorcery involved, just a well-orchestrated series of events happening behind the scenes.
Today, I want to pull back the curtain and take you on a detailed, step-by-step journey of what actually happens when you switch on a computer with a Linux operating system. We’ll start from the moment electricity flows into your machine and follow the intricate flow of hardware and software until you see your desktop environment. Don’t worry if you’re new to this – I’ll explain everything in a way that’s easy to grasp.
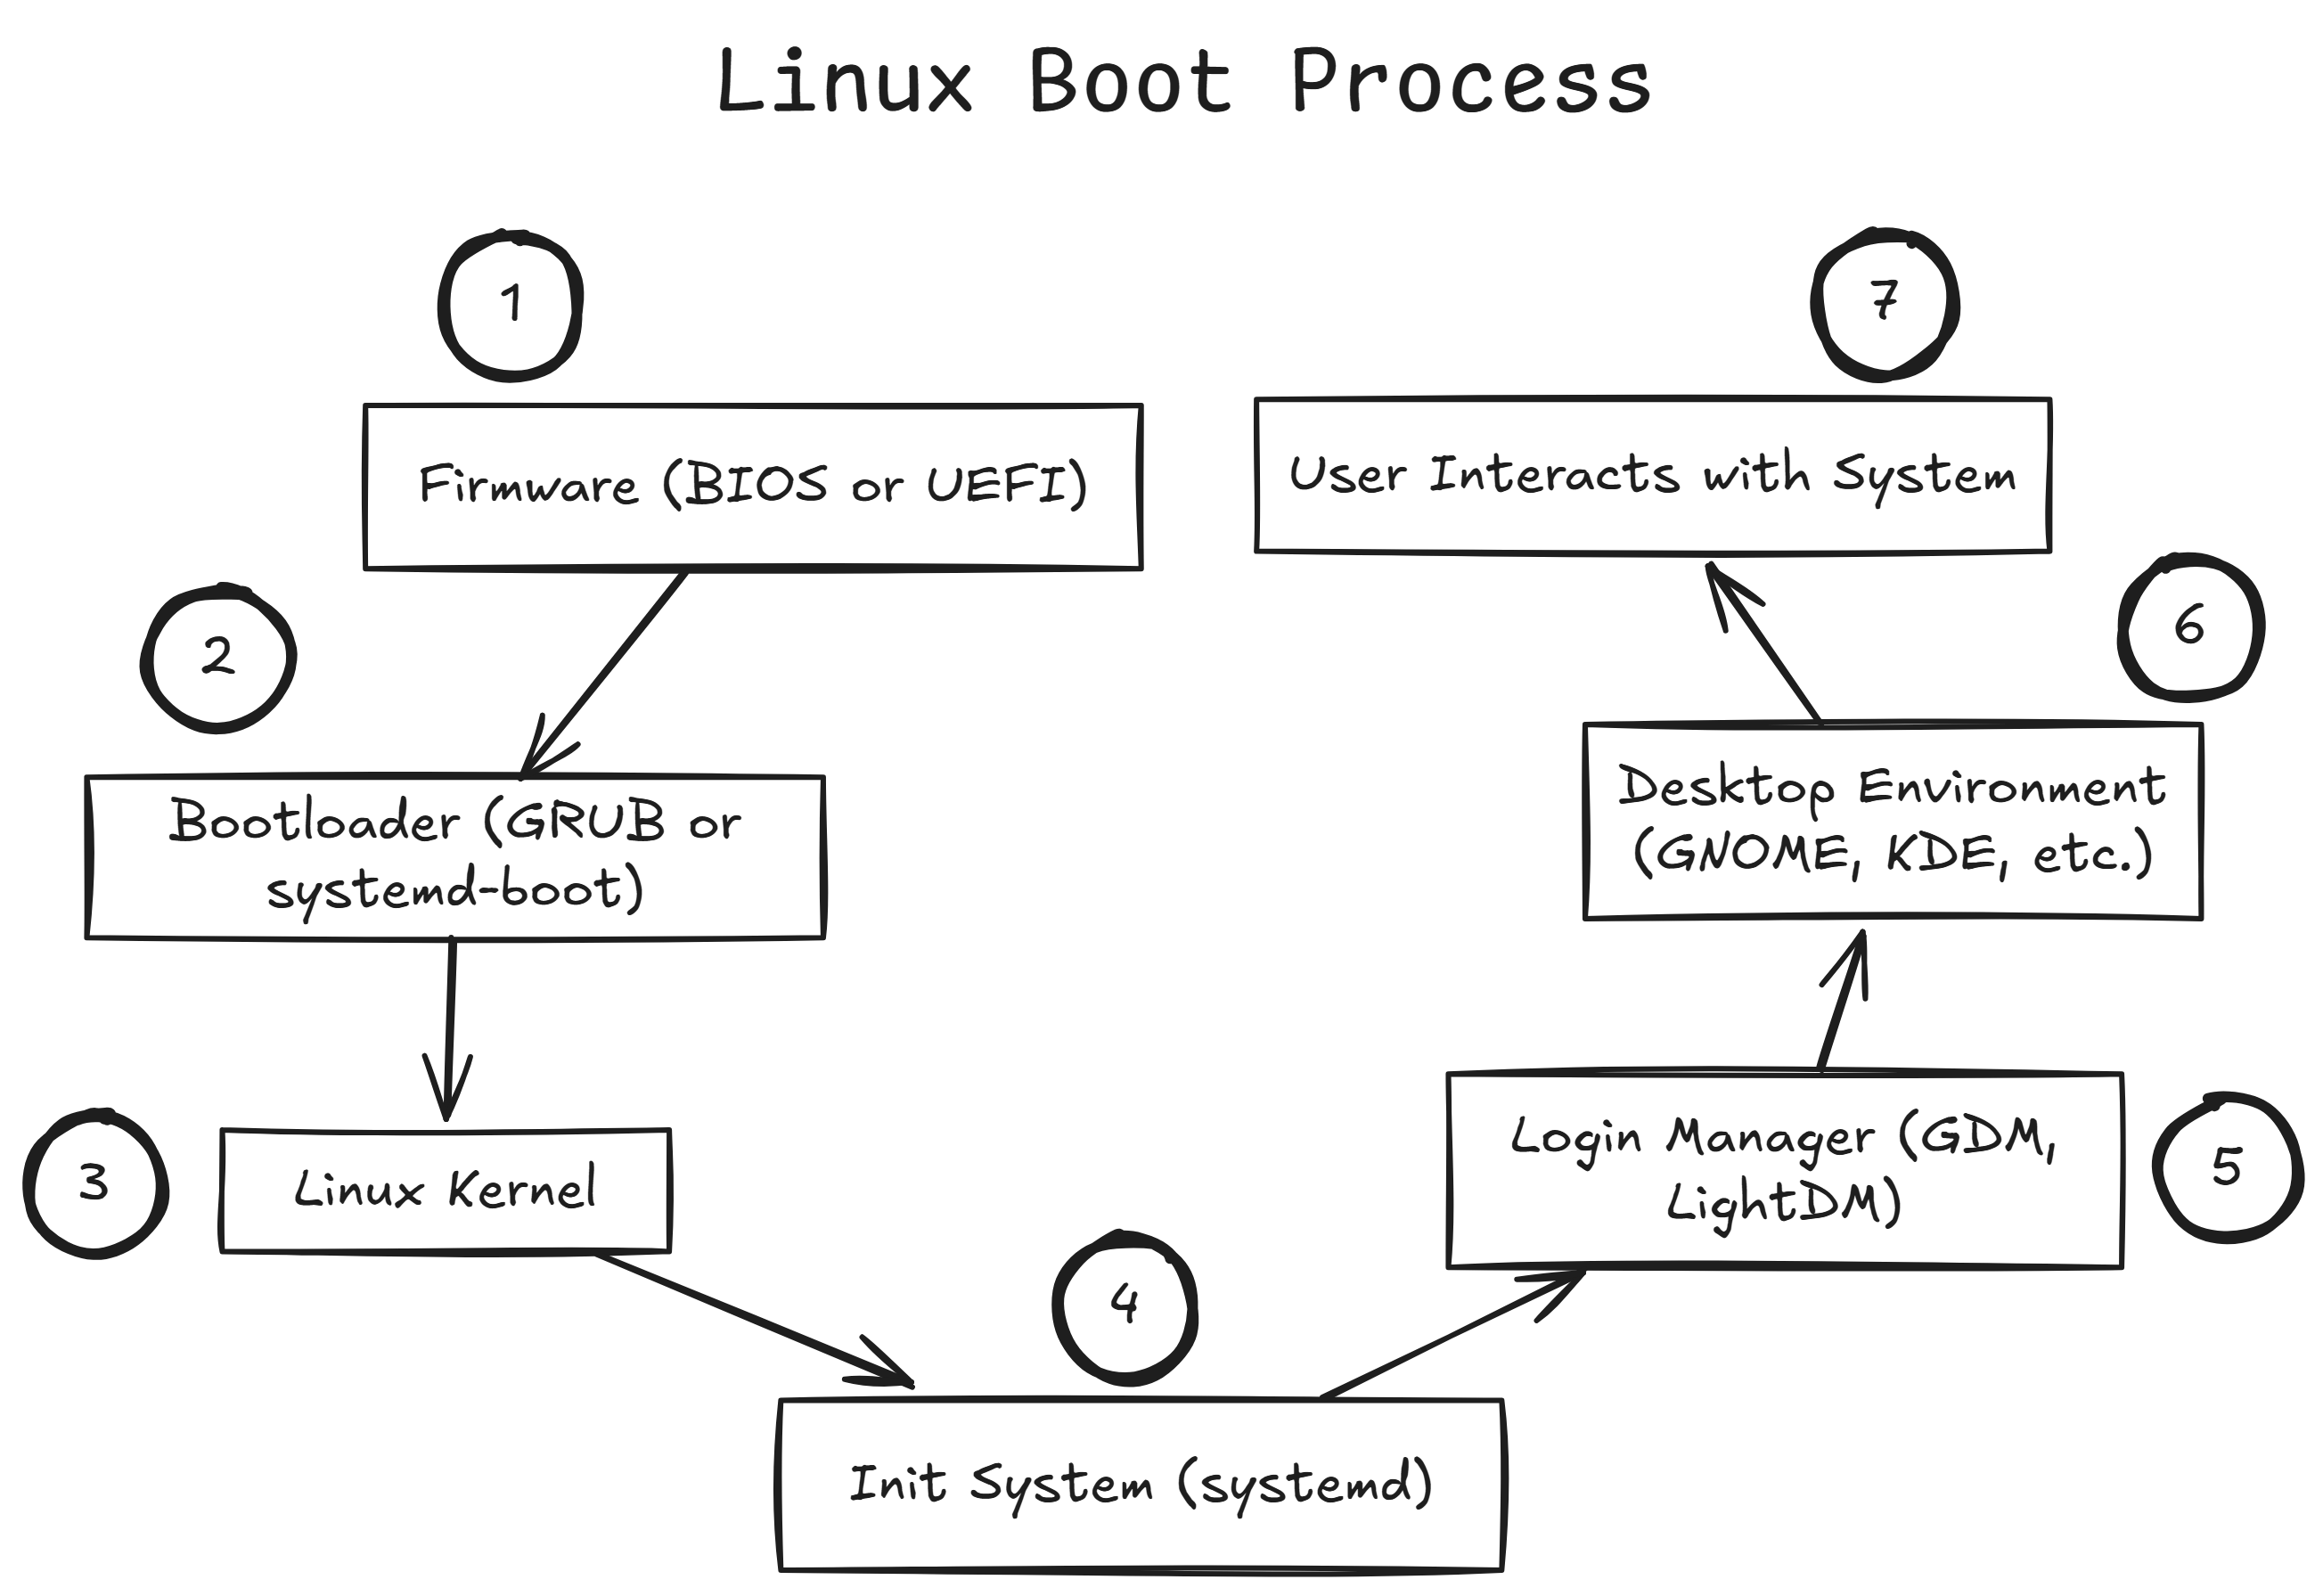 Figure 1: Boot Process
Powering On
The very first thing that happens is, well, you hit the power button! This simple action completes an electrical circuit, allowing power to flow from your power supply unit (PSU) to the various components of your computer.
-
Power Supply Unit (PSU) Activation: The PSU converts the AC power from your wall outlet into the DC power that your computer’s components need to function. When you press the power button, you’re essentially telling the PSU to start this conversion and distribute power.
-
Power Good Signal: Once the PSU stabilizes and provides the correct voltages, it sends a special signal called “Power Good” to the motherboard. This signal tells the motherboard that it’s safe to start the rest of the system.
Waking Up the Brain: The CPU and the BIOS/UEFI
With power flowing and the “Power Good” signal received, the central processing unit (CPU), the brain of your computer, springs to life.
- CPU Initialization: The CPU starts executing instructions from a predefined memory location. At this very early stage, the main system memory (RAM) is usually empty or contains random data, so the CPU needs to look for instructions elsewhere.
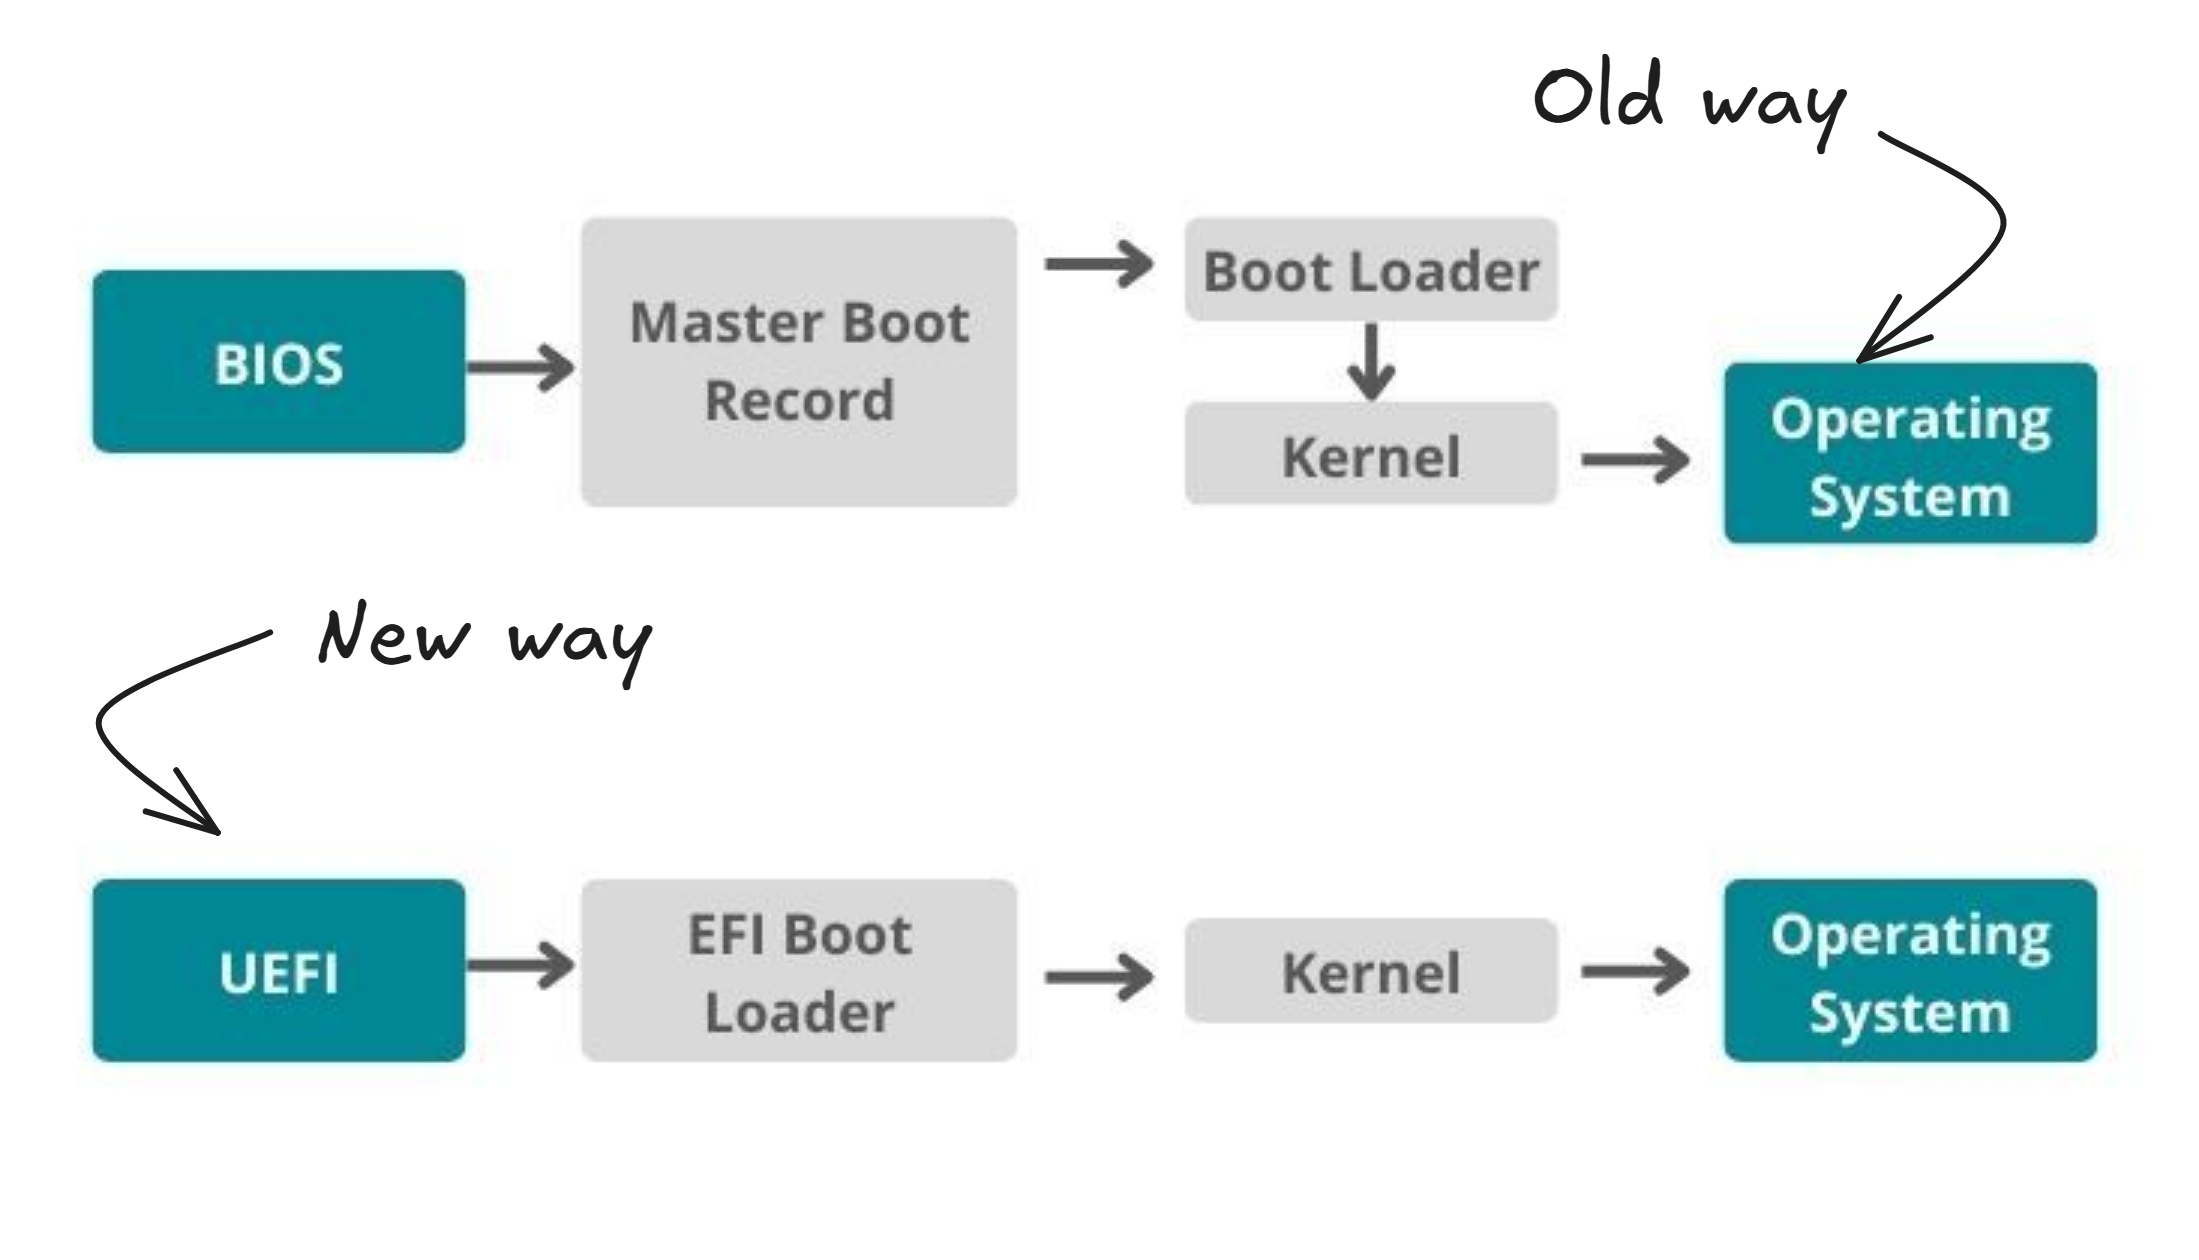 Figure 2: How BIOS/UEFI works
-
The Role of ROM (Read-Only Memory): This is where the firmware comes in. Firmware is software that’s permanently stored on a small chip on your motherboard. Historically, this firmware was known as the BIOS (Basic Input/Output System). Modern systems, however, increasingly use a more advanced firmware called UEFI (Unified Extensible Firmware Interface). Both BIOS and UEFI perform similar initial functions, but UEFI offers more features and flexibility. Think of the firmware as the computer’s built-in startup instructions.
-
Executing the Firmware: The CPU is hardwired to look for and execute the code stored in the firmware chip. This is the very first piece of software that runs when you turn on your computer.
The Startup Checklist: POST (Power-On Self-Test)
The first crucial task of the BIOS/UEFI is to perform a POST (Power-On Self-Test). This is essentially a diagnostic check to ensure that all the essential hardware components of your computer are functioning correctly.
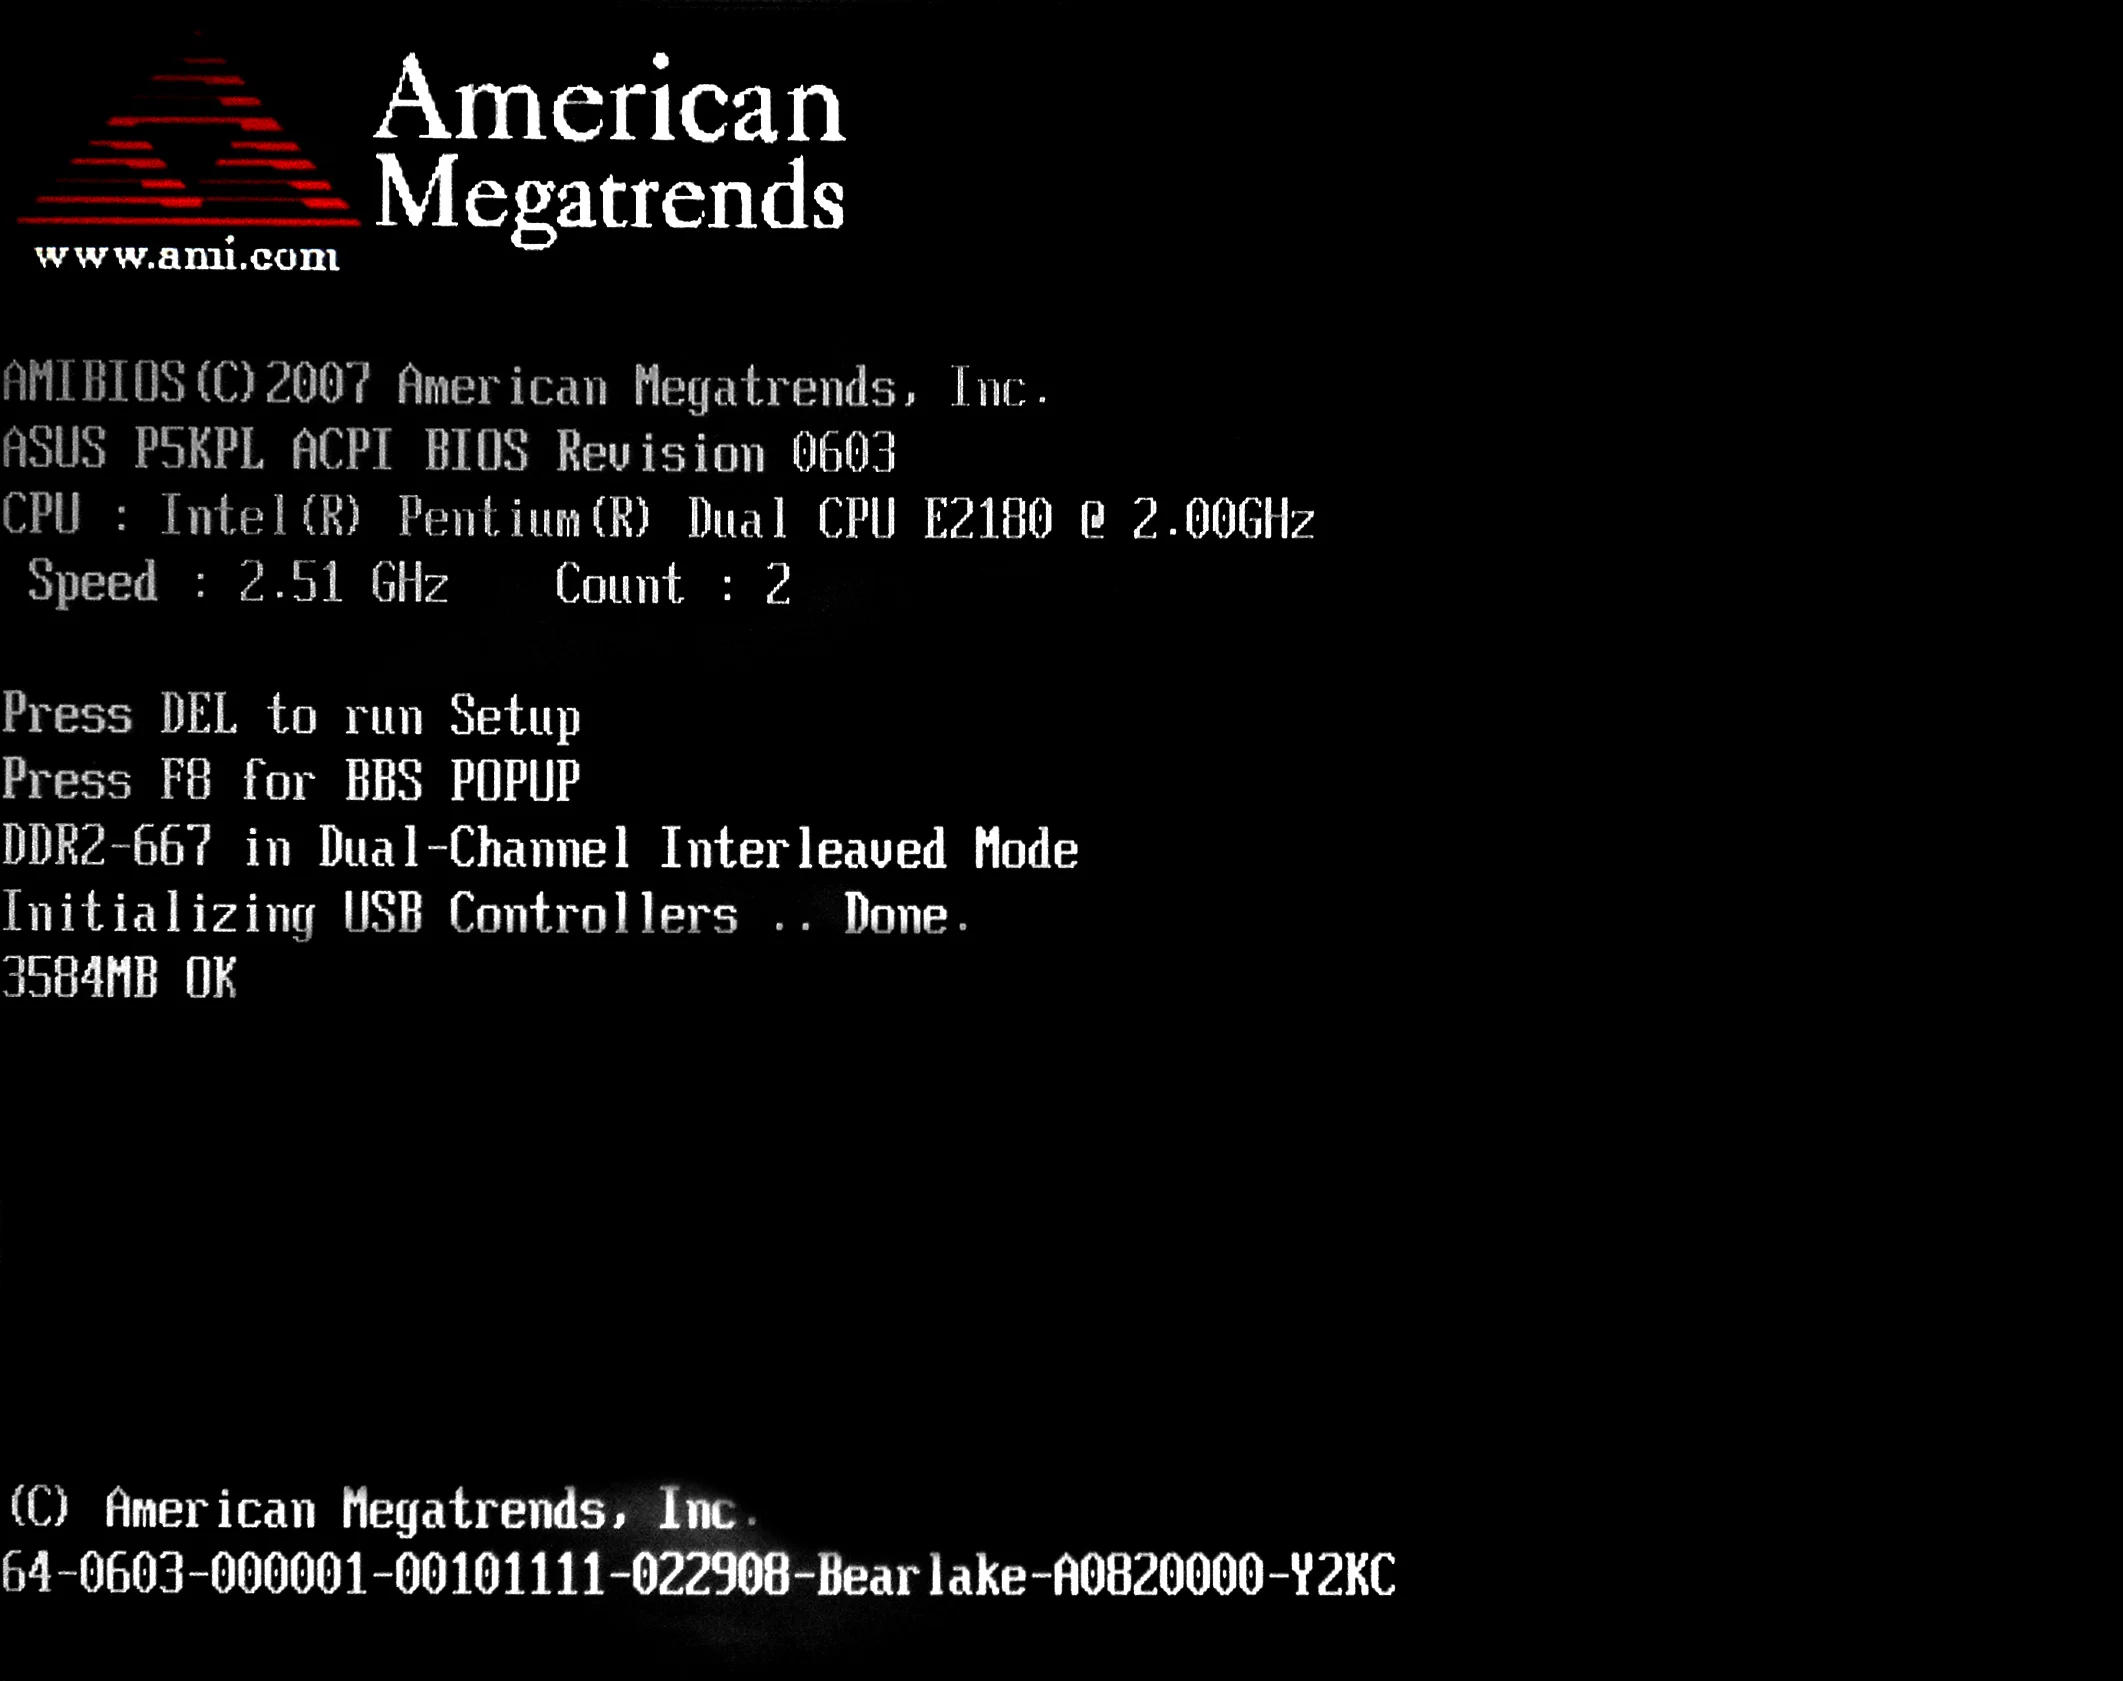 Figure 3: Power-On Self Test (Diagnostic Check)
-
Hardware Inventory and Check: The BIOS/UEFI goes through a checklist, verifying the presence and basic functionality of key components like the CPU, RAM, graphics card, keyboard, and storage controllers.
-
Error Detection: If the POST detects a critical error (for example, if a RAM module is faulty or the graphics card isn’t detected), it will usually halt the boot process and display an error message on the screen (if possible) or emit a series of beeps. These beep codes are like a Morse code for hardware problems, with different patterns indicating different issues.
-
Initialization of Basic Hardware: If all essential hardware passes the POST, the BIOS/UEFI initializes them to a basic level, preparing them for further operation.
Starting Point: Boot Device Selection
Once the hardware is deemed healthy, the BIOS/UEFI needs to figure out where to load the operating system from. This is where the boot device selection comes in.
-
Boot Order: The BIOS/UEFI has a configured boot order, which is a list of storage devices (like hard drives, SSDs, USB drives, or even network locations) that it will check in a specific sequence to find a bootable operating system. You can usually configure this boot order in the BIOS/UEFI settings, which you can access by pressing a specific key (like Delete, F2, F12, or Esc) during the early stages of boot.
-
Searching for a Boot Sector: The BIOS/UEFI goes through the devices in the boot order and looks for a special area on each device called the boot sector (on older systems using Master Boot Record - MBR partitioning) or the EFI System Partition (ESP) (on newer systems using GUID Partition Table - GPT partitioning). These areas contain the initial code that starts the operating system loading process.
-
Bootloader Found! When the BIOS/UEFI finds a valid boot sector or ESP on a bootable device, it loads a small piece of code from it into the computer’s memory and then transfers control of the boot process to this code. This is where the bootloader comes into play.
Handing Over the Reins: The Bootloader
The bootloader is the first operating system-specific program that runs. Its main job is to load the Linux kernel and the initial RAM disk (initramfs). In the Linux world, popular bootloaders include GRUB (GRand Unified Bootloader) and systemd-boot.
 Figure 4: Grand Unified Bootloader (GRUB)
-
Boot Menu (Optional): If you have multiple operating systems installed on your computer, the bootloader often presents you with a boot menu. This menu allows you to choose which operating system you want to boot into. If you don’t make a selection within a certain timeout, the bootloader will usually boot the default operating system.
-
Loading the Linux Kernel: Once you’ve selected a Linux option (or the default is chosen), the bootloader locates the Linux kernel image on the boot partition and loads it into the computer’s memory. The kernel is the core of the Linux operating system – it’s responsible for managing the system’s resources like the CPU, memory, and devices.
-
Loading the Initial RAM Disk (initramfs): Along with the kernel, the bootloader also loads an image called the initial RAM disk (initramfs) or sometimes initrd (initial RAM disk) into memory. This is a small, temporary file system that contains essential files and drivers needed by the kernel during the early stages of boot. Think of it as a survival kit for the kernel.
The Linux Kernel Takes Over
With the kernel and initramfs loaded into memory, the bootloader’s job is done. It now transfers control to the Linux kernel, and this is where the real operating system initialization begins.
-
Kernel Initialization: The kernel starts to initialize itself. It detects and configures the system’s hardware, setting up memory management, process management, and device drivers. You might see a flurry of text scrolling across your screen at this point – this is the kernel’s early output, showing you what it’s detecting and initializing.
-
Mounting the Root File System: One of the kernel’s crucial tasks is to mount the root file system. This is the main file system that contains all the files and directories of your Linux installation. The location of the root file system is usually specified in the bootloader configuration.
-
The Role of initramfs (Again): The initramfs plays a vital role here. Often, the drivers needed to access the actual root file system (which might be on a specific type of hard drive or require special drivers) are not built directly into the kernel. The initramfs contains these necessary drivers as modules. The kernel uses these modules to mount the root file system. Once the root file system is mounted, the kernel has access to the rest of the operating system.
-
Transition to the Real Root: After the real root file system is mounted, the kernel executes a program called
/sbin/init(or sometimes/sbin/systemddepending on the init system used by your distribution). This marks the end of the early boot process and the beginning of the user-space initialization. The initramfs is then usually unmounted from memory.
Setting Up Shop: The Init System
The init system is the very first user-space process that starts after the kernel has initialized. It’s the parent of all other processes on the system and is responsible for bringing the rest of the operating system to life. Traditionally, the most common init system was SysVinit, but modern Linux distributions largely use systemd.
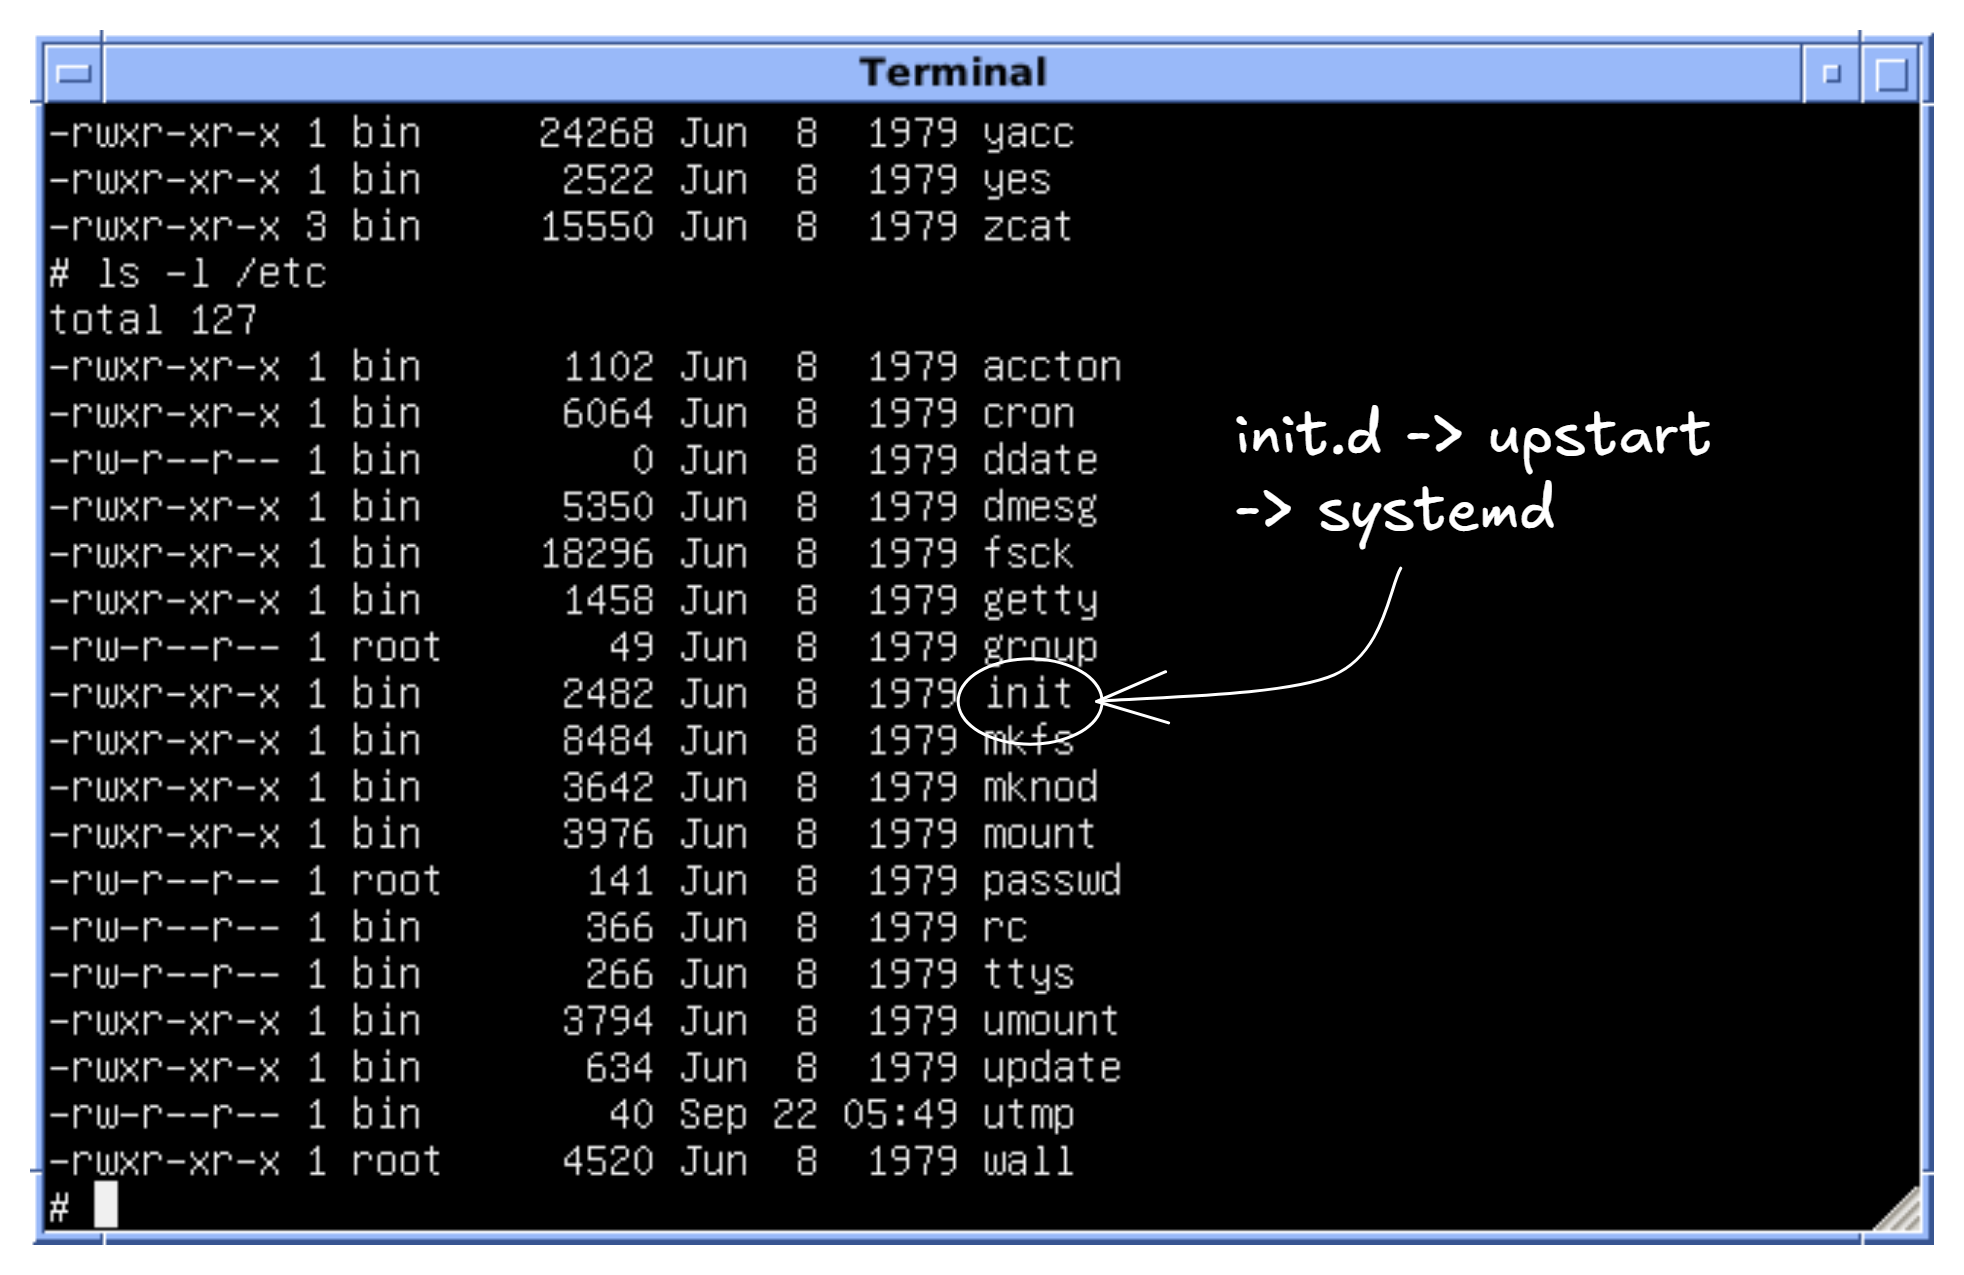 Figure 5: init.d in Kernel
-
Systemd’s Role: Systemd is a comprehensive init system that manages system services, mounts file systems, starts network services, and much more. It uses unit files to define how each service should be started and managed.
-
Target Units: Systemd uses the concept of target units to organize the boot process. Different target units represent different stages of the system’s startup. For example,
basic.targetbrings up the basic system,multi-user.targetbrings up a multi-user environment with network services, andgraphical.targetstarts the graphical desktop environment. -
Starting Services: Systemd starts various system services based on the active target unit. These services might include networking, display managers (for the graphical login screen), desktop environments, and other background processes.
The Desktop Environment
Finally, after all the essential services have been started by the init system, the graphical login screen (display manager) appears.
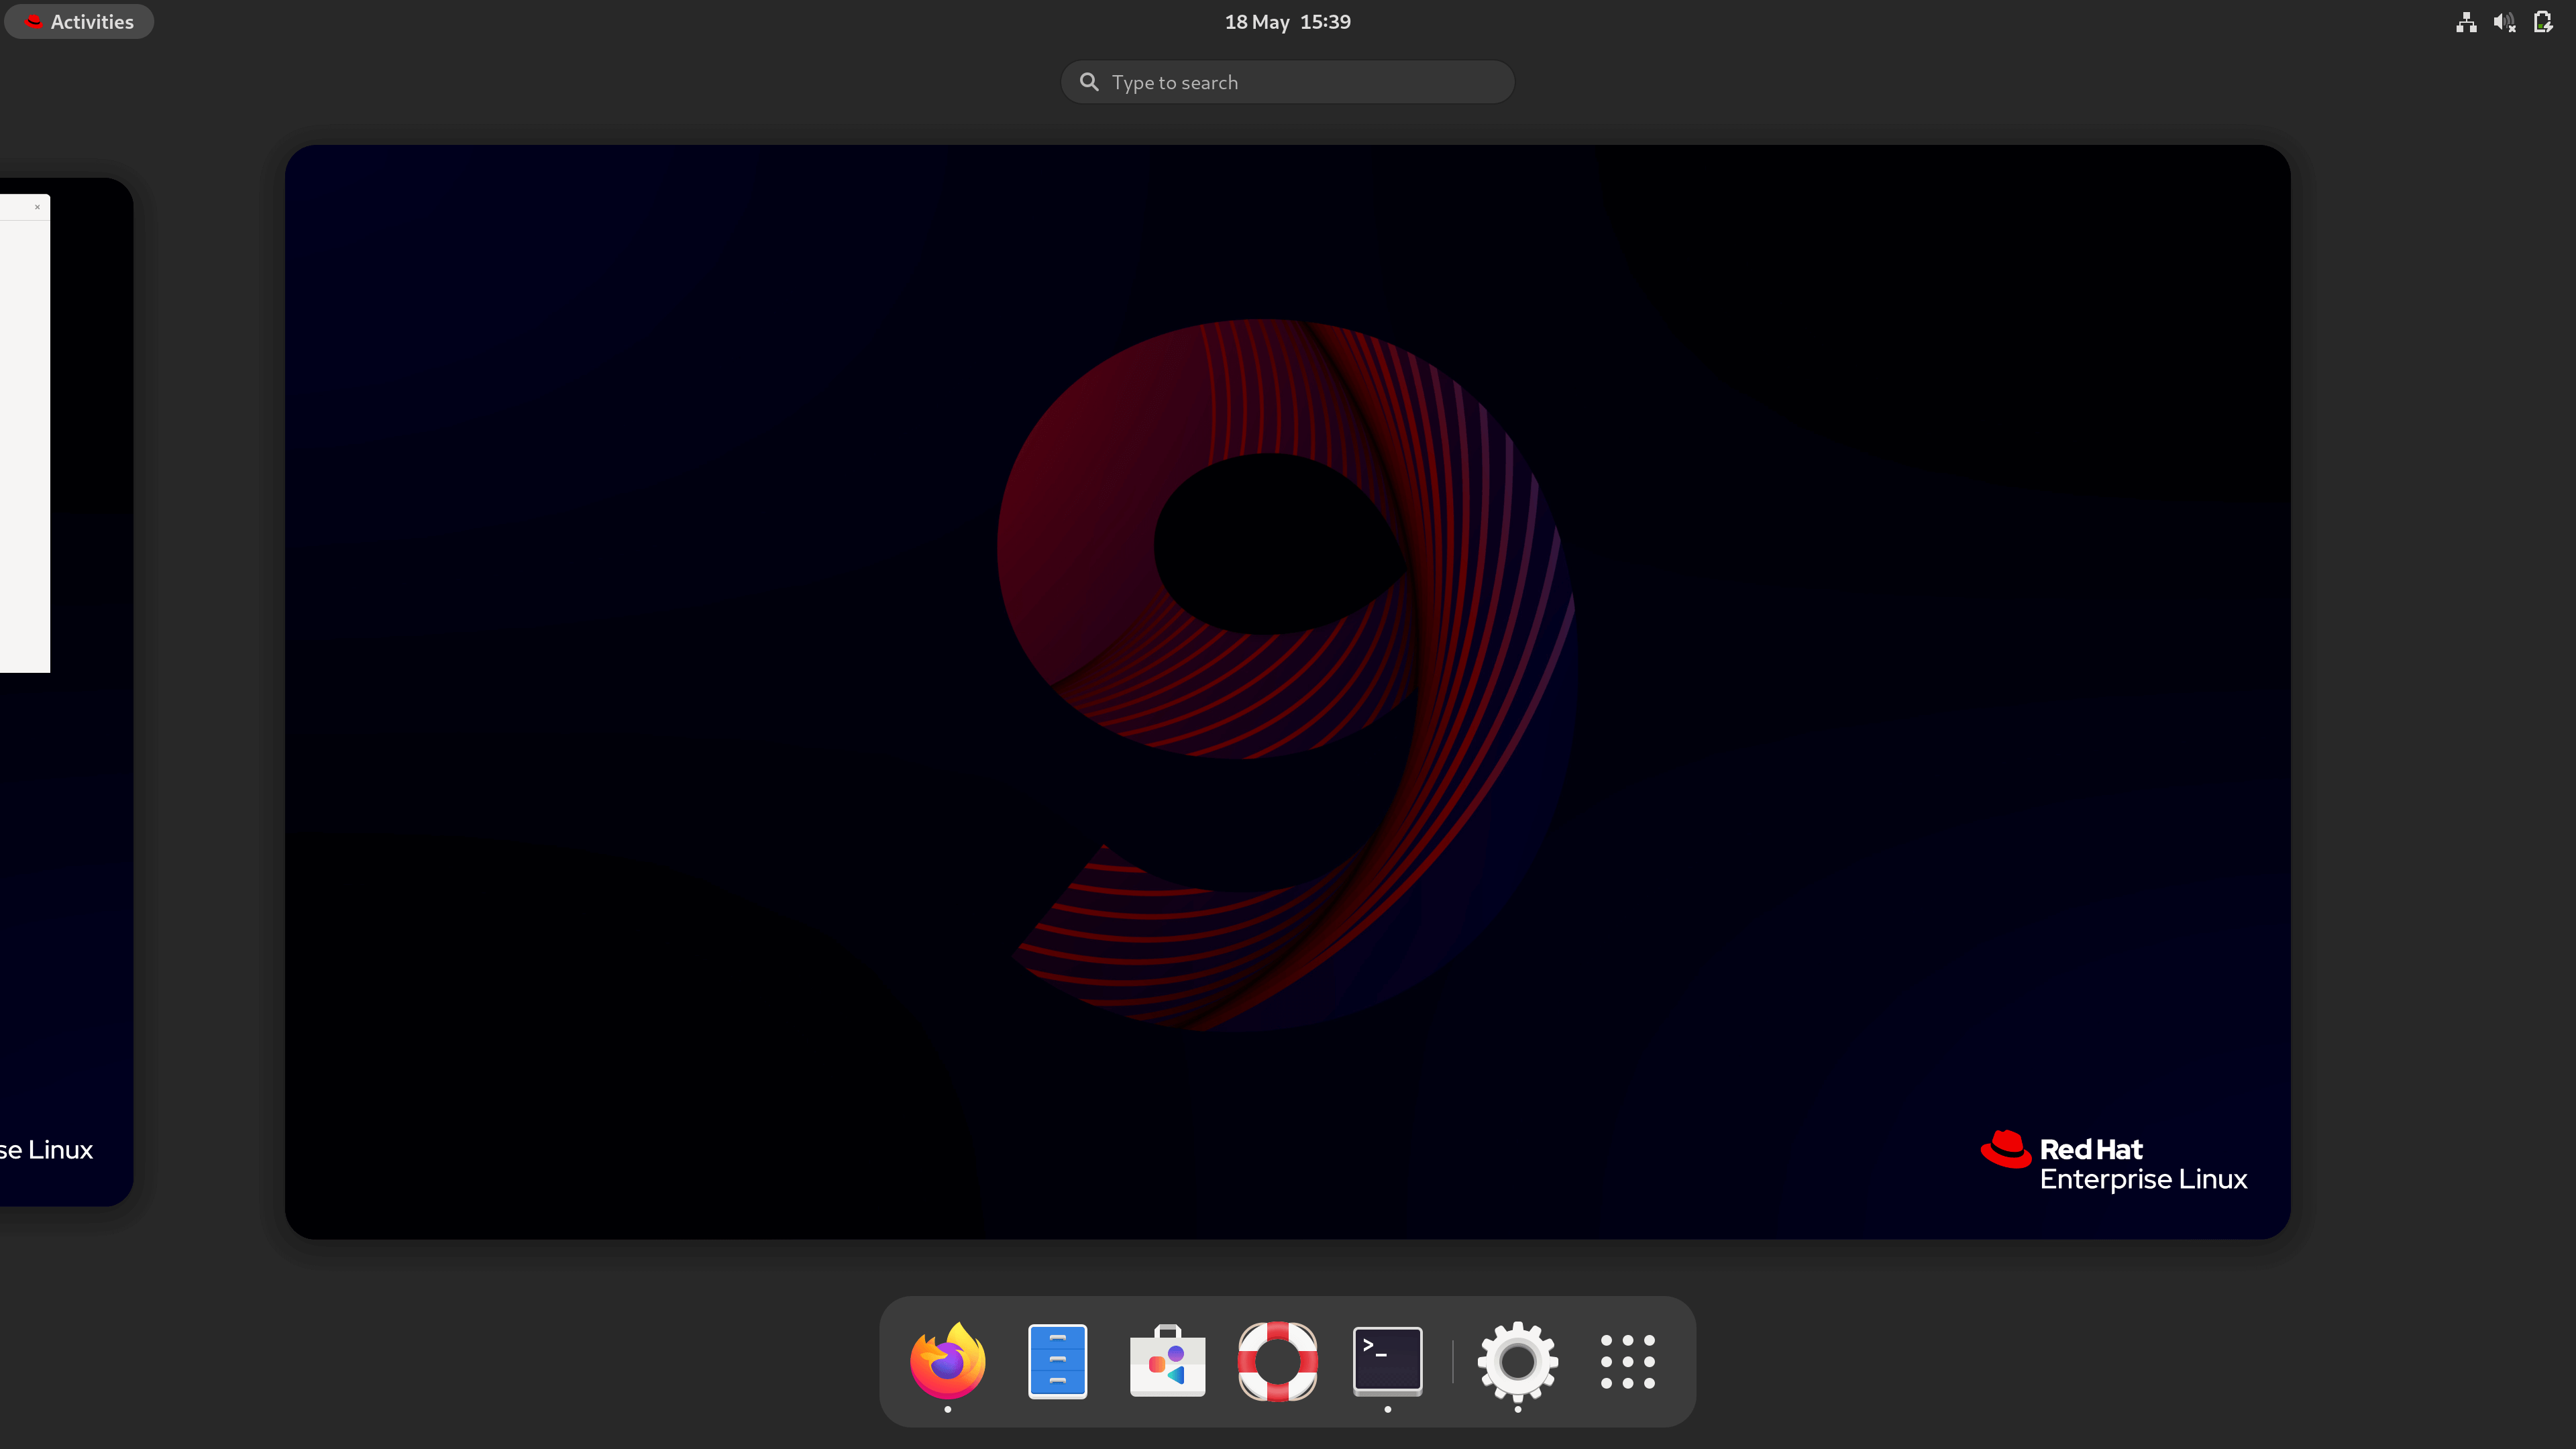 Figure 6: Home page
-
Display Manager: The display manager (like GDM, LightDM, or SDDM) provides the graphical interface where you can enter your username and password to log in.
-
Authentication: When you enter your credentials, the display manager verifies them against the system’s user database.
-
Launching the Desktop Environment: Once you’re authenticated, the display manager starts your chosen desktop environment (like GNOME, KDE Plasma, XFCE, or others). The desktop environment provides the graphical user interface you interact with, including the window manager, file manager, panels, and desktop icons.
-
User Session Initialization: Your desktop environment then initializes your user session, loading your personal settings, starting your default applications, and finally presenting you with your familiar Linux desktop, ready for you to start working or playing!
In a Nutshell:
So, the seemingly simple act of turning on your Linux computer involves a complex but well-defined sequence:
- Power On: Electricity flows, and the PSU stabilizes.
- BIOS/UEFI: The firmware runs POST, checks hardware, and selects a boot device.
- Bootloader: Loads the Linux kernel and initramfs into memory.
- Kernel: Initializes hardware, mounts the root file system using initramfs drivers, and hands over to the init system.
- Init System (systemd): Starts essential system services and targets, eventually leading to the display manager.
- Desktop Environment: The graphical login screen appears, you authenticate, and your chosen desktop environment loads, presenting you with your user interface.
It’s a fascinating process, and understanding these steps can give you a much deeper appreciation for how your Linux system works. The next time you hit that power button, remember the intricate dance of hardware and software that’s happening behind that seemingly simple action!
Video Explanation here
How Does Linux Boot Process Work?